How to build solar energy panels
In this article we will analyze and teach you How to build solar energy panels, we will talk about whether it is convenient to do it yourself or buy them.
Solar panels: do it yourself! Such as? The topic of photovoltaic panels itself seems quite technologically advanced and not too easy for everyone … and we also have to do it ourselves? Yes! Of course, you have to get quite into the subject. However, this is what we are here to show you the way to make a solar panel yourself. But let’s start from the beginning. Solar panels also known as
How to build solar energy panels
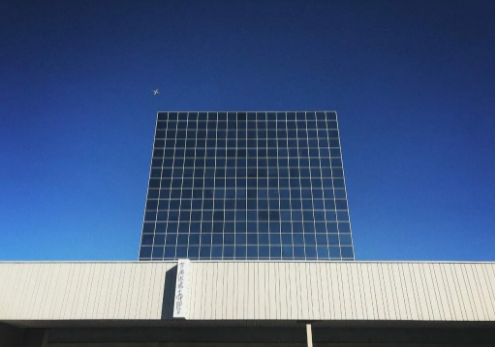
Photovoltaic panels are devices that convert sunlight into electricity. With their help, you can make remarkable savings on your home budget, which is very encouraging in the age of rising electricity bills. Solar panels, because that is also called solar collectors, are a combination of ecology and economy in relation to heating water. Technology does not harm the environment in any way, because we use a renewable energy source .
The investment, although not small, pays for itself in a few years, because the operating costs of the house are lower. In addition, deciding to mount panels or solar collectors, we can benefit from a grant. The main co-financing coordinator in Poland is the National Fund for Environmental Protection and Water Management. However, before you start looking at the benefits of similar technologies, it is worth finding out what they are and how they work.
Solar panels: do it yourself! The most important information
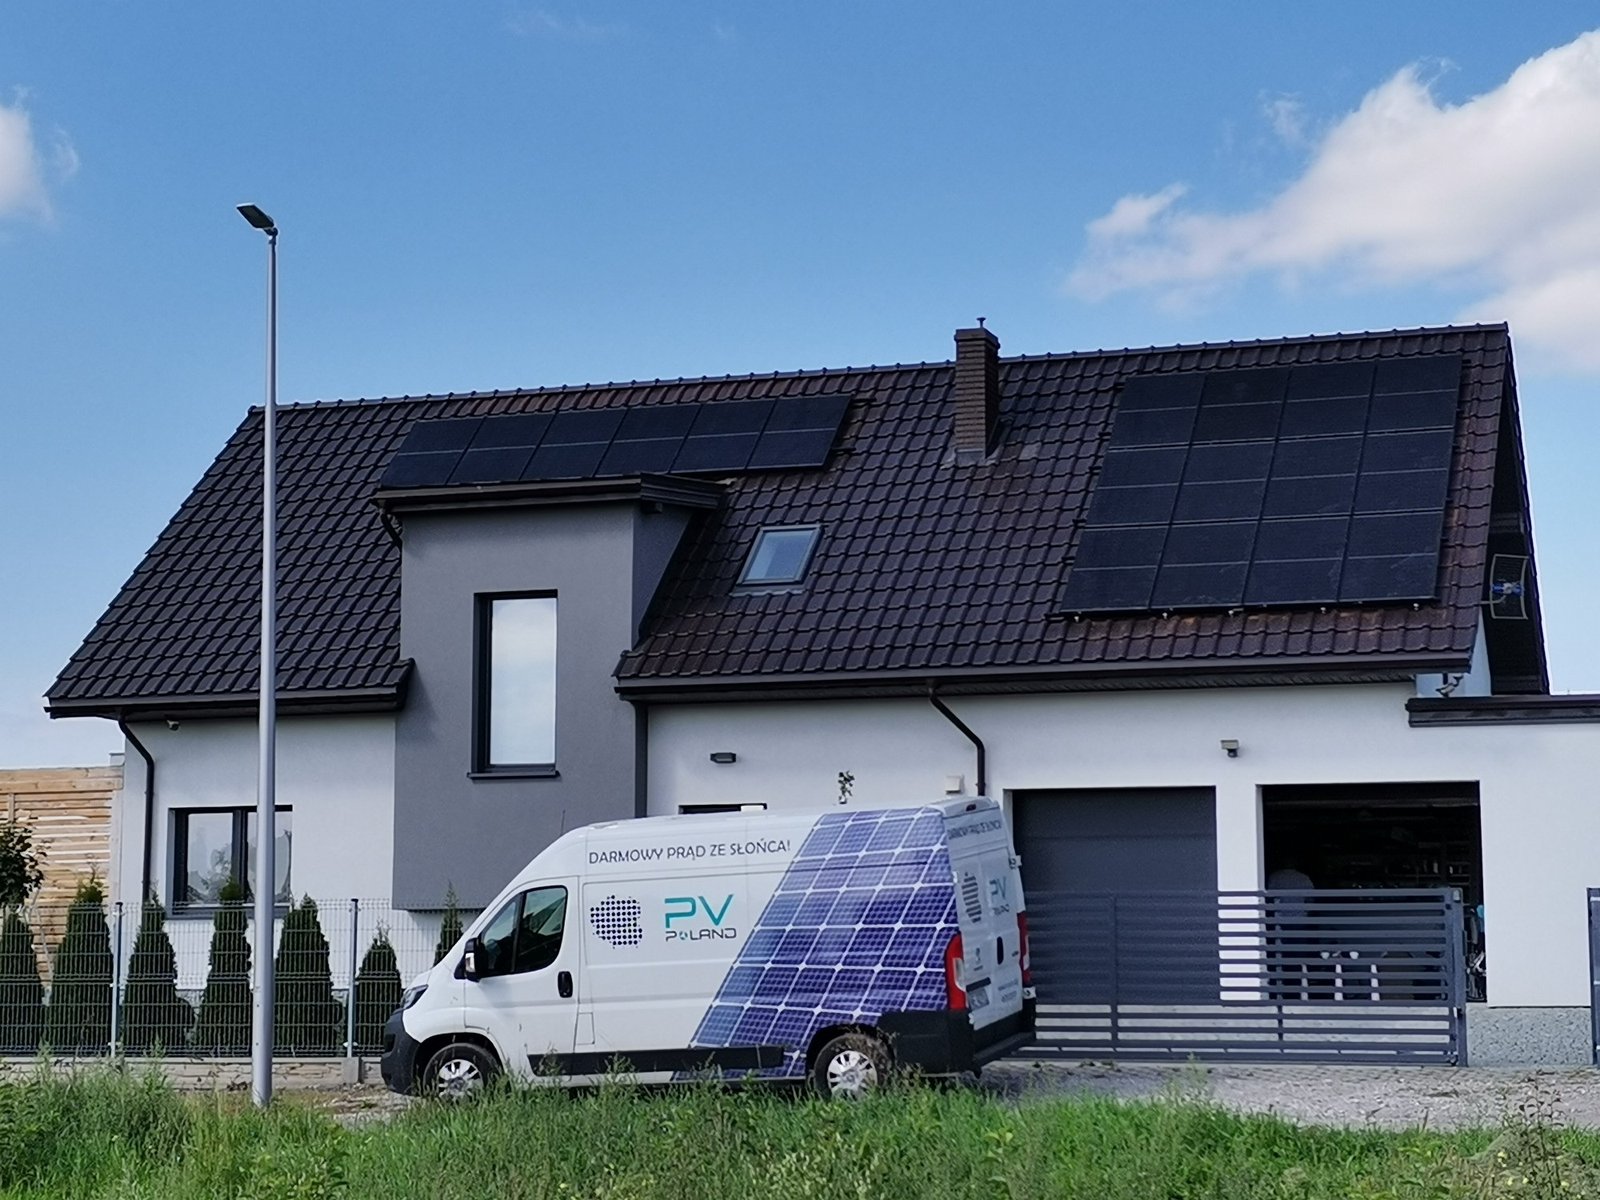
The photovoltaic installation consists of silicon plates, thanks to which we obtain energy by processing the solar rays. The ongoing process is called the photovoltaic effect and the phenomenon is caused by special semiconductors contained in the panels. However, the production of electricity would not be possible without an inverter. This is a special item: a solar inverter that converts direct current into alternating current. Only the latter can be distributed to the network. Solar panels are usually mounted on the roof of a building, although it happens that the installation is located on the ground, if we have a fairly large undeveloped area. In our country, the optimal arrangement is to incline them to the south. Thanks to this, we will get the most energy.
At first glance, the process and the devices themselves do not seem too complicated, which is why many people are willing to place orders instead of solar panels with installation service , opting for self-assembly kits. DIY: from English Do It Yourself, every year it is better represented in the market. If you are considering solar panel installation and are considering preparing the installation yourself, below we will try to answer the most common questions about solar panels, do it yourself. After reading them, you will surely know if this is the right solution for you.
Buy or do it yourself?
If you want to answer this question, you need to seriously assess your own abilities. If we do not have enough time, patience and knowledge, it is definitely better to use the services of a professional company that will bring and install the panels on our ceiling or in the indicated area. Yes, we will pay more then, but we will not have to take responsibility for the end result. However, when we are asleep with a DIY soul, we like to explore the secrets of modern technologies and what encourages many: we want to pay even 20-30% less! So a do-it-yourself solar panel could become a target.
At this point, however, it is worth pointing out some very important issues. And it’s not about turning off someone else’s enthusiasm. Before starting work, you need to realize how important proper assembly is . The efficiency and power of the installation largely depend on it. So what should you focus on more?
- On the position and slope of the roof with respect to the sun.
- By changing the hue according to the time of day and year.
- On trees growing in the area and other things that can be a problem.
Example: A pole casting a shadow under a house may seem trivial at first glance. People who install photovoltaic installations professionally know, however, that this weakens the operation of the panels . Similar mistakes can make losses outweigh savings. Getting to the bottom: this type of installation is not just photovoltaic panels. It is also quite a rich team and circumstances. Two nearly the same hardware configurations can offer completely different performance. Everything plays a role here: cables, inverter, panel angle, shading elements; each of these elements has an impact on performance.If you are aware of this and still want to deepen your knowledge and give self installation a try, here is a suggestion on how to install do-it-yourself solar panels on your property.
What do we need to make solar panels ourselves?
An essential element of the installation that will allow us to obtain our own electricity will, of course, be the photovoltaic panels and other devices that are part of the entire system. Nor will it be without tools. While most DIY kits provide everything we need, here is a list of “must-haves.” So what should we gather?
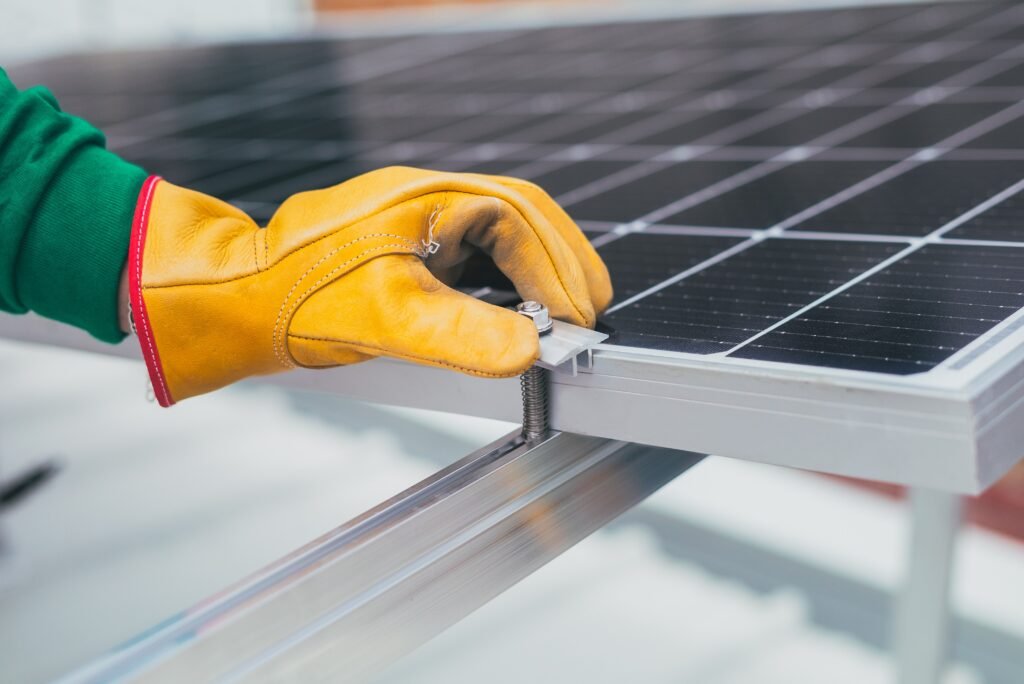
– Fastening system
Rails, handles, clamps, screws – today’s fastening systems allow mounting in all conditions. Most of the time we find the installation of collectors on sloping ceilings, although in the case of flat surfaces, there are no contraindications. A wide selection of fasteners allows you to optimally use the space for installing photovoltaic energy.
– wires
The photovoltaic installation and its individual elements are connected, among others with cables. Cabling must meet specific requirements. It must be resistant to UV radiation and also waterproof and oil resistant. In addition, the cables must be able to withstand high voltages up to 1000V.
– Photovoltaic panels
The most important part of the installation are, of course, the photovoltaic panels . It is there where electricity is generated . What are the individual panels made of? They are photovoltaic cells connected in series . There are two types available on the market: monocrystalline and polycrystalline cells. The former increase the efficiency of the system, while the latter reduce investment costs. By purchasing high-quality panels, we can enjoy their efficient operation even after 25 years. What is your cost? It all depends on the type of panels.
– investor
This part is often called the heart of photovoltaic installations. Its task is to transform direct current into alternating current, that is , into one that powers the devices in our house. Most modern inverters have an MPP Tracker system that finds the installation point that provides the most power . The process is carried out continuously, since the working conditions of the panels are variable. Thanks to this solution, the installation works on average 20% more efficiently.
– Tools
Efficient assembly requires the use of proper tools. Proper drills, screws, and a ladder will help, if the panels will be on the ceiling. A device that detects wooden beams can be very useful. Also, it’s nice to have an angle grinder, drill / driver, impact driver, and something to strip the insulation from the wire. A meter for electrical installations will also be useful. Once we have everything we need during our work, we can start planning the assembly.
Proper mounting is the key!
As we mentioned at the beginning, the correct assembly is essential. The efficiency of photovoltaic installations and the profitability of their use depend on this . Important factors to consider?
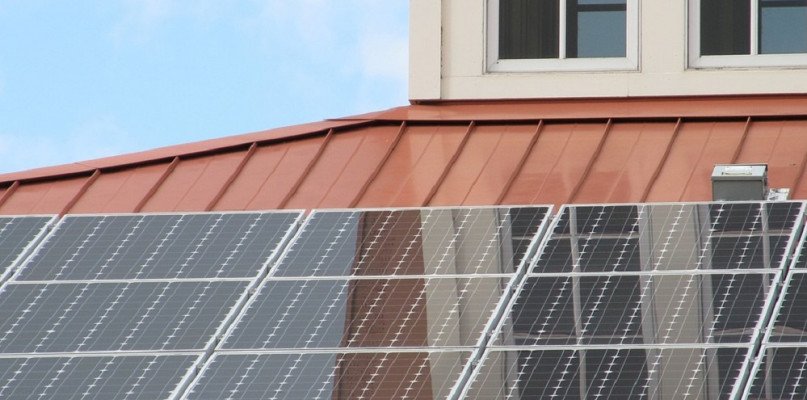
- In order for solar collectors to be as efficient as possible, we need to find a suitable, unshaded place for them. The correct position is also very important so that they absorb as much solar radiation as possible.
- At our latitude, the angle of inclination should be about 25-40 degrees relative to the earth’s surface in southern Poland, 30-50 degrees in the northern part.
- If the building does not have an optimal roof pitch angle, it can be leveled with a steel support structure. This is a slightly more expensive option, but brings tangible economic benefits due to the production of energy maximized .
- During installation, it should also be remembered that the panels should be laid in such a way as to minimize the risk of their destruction, for example , due to the action of wind, snow and other weather conditions.
- Due to the weight of some elements of the installation , it is worth asking for help from one or two people. We certainly won’t be able to handle the editing ourselves. An efficient team is essential!
- It is also important to choose the right tools and system components. We should not choose the cheapest products, because the savings will be evident. An installation made with substandard materials does not work as efficiently as we would like. Also, its lifespan will be much shorter.
DIY Solar Panels – Install solar panels diy, Good Design and Correct Construction Are Very Important
The foundation of a well-prepared photovoltaic installation is a reliable project. It must take into account both technical and economic elements. By conducting a detailed analysis, we can select parts that ensure maximum system efficiency. To create a good photovoltaic installation project , detailed information about the installation site will be necessary, which is:
– type of roofing material,
– roof dimensions,
– the angle of the roof,
– exposure of the building to the sun,
– plot size (in case of installation on the ground),
– electrical consumtion.
Diy solar system: creation of a project can be divided into 5 stages:
1. Determination of current and expected electricity consumption in the home / business.
2. Evaluation of the mounting options and selection of the size of the installation, taking into account losses related, for example, to shading.
3. Calculation of the annual electrical performance .
4. Determination of the technical possibilities of installation of installation cables.
5.Określenie the predicted environmental effect by calculating the emissions avoided by the use of energy sources .
It is known that each project will be different, adapted to the individual technical conditions and electrical needs of the building. For this reason, when seeking information on this topic, we should not copy someone else’s projects. We have to put in a little effort and adapt it to specific conditions and our own needs. Although it requires a little work on our part, remember: a good design is a guarantee of the correct operation of the photovoltaic system and, therefore, considerable savings.
In addition, a carefully crafted plan makes it easy to assemble the entire structure. The analysis carried out above prepares us for various contingencies and we have the so-called plan B, even if there are complications along the way. A principle worth remembering: a correct construction will never be created without a carefully prepared project.
How to start photovoltaic panels?
To successfully commission a PV installation, you must divide your work into several key stages. If we stick to the plan, we will certainly do everything right. Here are the step-by-step assembly instructions:
1. Fix the supporting structure to the ceiling
The first step is to assemble the mounting system. It is fixed directly to the roof structure by drilling holes and mounting the appropriate elements. The supporting structure is made up of aluminum rails on which we place a photovoltaic panel in the selected quantity. For flat roofs, the design is slightly different. If the roof can support the proper weight, there is a special ballast on top of the mounting system to stabilize the solar cells. If, on the other hand, you are concerned that the ceiling will not be able to support the weight, it is better to drill holes to attach the system directly to the ceiling .
2. Fix the photovoltaic panels to the support structure and connect them with each other (if they are to be connected in series) or with microinverters (if you have chosen such a solution)
We fix the photovoltaic cell using clamps and special screws. Usually in mounting systems we get four clamps for each panel. It is not a complicated task, but it is worth enlisting the help of someone, because each of the photovoltaic panels weighs approximately 25 kg. During installation, the photovoltaic panels are connected to each other. Most systems are connected in series with cables that pass through each solar panel. Solar panels are equipped with two contacts: additions and negative. In series connection, the positive contact is connected to the negative contact of the next panel. In turn, the first and last solar panels in the series are connected to the inverter. Another method is to use microinverters. A microinverter is a small size and lower power inverter. When we decide on such a solution, each solar panel has its own microwave.
What is the difference between the two connection methods? In a series system , all the panels in a line must operate with the same power; on the contrary , each panel installation works with the power of its weakest link. The bottom line is that the joined panels must be on one wall and receive the same amount of light. The shadow moving across a panel weakens the entire series. In an installation with microinverters, the photovoltaic panels have their own inverters and are connected in parallel. Thanks to this, they work independently of each other, and the shading of one does not affect the operation of the entire installation.
3. Install the inverter on the wall (or connect microinverters)
This is the last step before wiring. When installing the inverter, it is very important to determine its location. In this way we minimize losses. The inverter must not be too far from the photovoltaic panels or the fuse box. The inverter must be fixed to the wall with the mounting plate. Due to its weight, it must be assembled by two people. If we choose the option with microinverters, we mount them individually under the photovoltaic modules.
4. Connect the solar panels to the inverter with a DC cable.
For the solar collectors to work, you need to connect the wires. The task is not too complicated, we perform it on two main cables. The first DC cable runs from the panels to the inverter. Being located outside, it is double insulated. It is important that the hole that the cable exits through is well sealed and waterproof, especially on flat roofs. This will prevent possible leaks.
5. Connect the PV panels to the fuse box with an AC cable.
The second wire, AC (utility grid), runs from the inverter to the fuse box. We also need to install a manual circuit breaker between the inverter and the fuse box.
6. Connect the installation to the network
Upon successful completion of the above items, the PV system is ready to go. In Poland, at this stage, we have to complete the formalities, that is , fill in the form (declaration of installation) and send it to the local electricity distribution point . In the case of installations of up to 40 kW, the local operator must connect us to the network at their expense. Photovoltaic systems up to 40 kW do not require a building permit.
7. Start the system
To start the installation, just turn on the inverter. After turning it on for the first time, we can see if everything is connected properly and working as it should. If so, the energy goes directly from the solar panels to the house and we can use the energy .
Is it worth installing solar panels yourself?
Perhaps after reading this article you still wondering if it’s worth using the kits DIY solar. Taking into account all the aspects of this project, we do not see any contraindications, ALWAYS , that the person who undertakes the task has sufficient knowledge and experience. Installing a solar photovoltaic system is a very responsible task, so you should consider all the pros and cons before you start. A single photovoltaic panel can generate a voltage greater than 24 V and a current of several amperes, and the entire installation can be many times greater. You must know how to deal with it so as not to destroy it and cause an unfortunate accident.
If you feel at the height of knowledge, you have all the necessary tools, you have a complete assembly kit, you are not afraid of heights (this is important when working on the ceiling) and you have helpers, you can take on the task. It is good that you have the special qualifications for installers of micro-installations specified in chapter 3b of the Energy Law.
However, when you already have doubts in the planning and preparation stage of the project, it is worth considering hiring experienced installers who will offer a comprehensive service. A team of trained installers will guarantee the effectiveness of the system and its safety. If savings are the only reason you should choose to install it yourself, it’s worth considering before making your final decision. Unfortunately, it may turn out that the lack of experience costs you more than the price of the finished service.