How to Repair a Roof with Solar Panels: A Step-by-Step Guide
As the world moves towards sustainable energy solutions, more and more homeowners are turning to solar panels as a viable option for their energy needs. Solar panels are not only environmentally friendly, but they also help reduce energy bills in the long run. However, when it comes to repairing your roof with solar panels, it is important to understand the process thoroughly. In this article, we will provide a step-by-step guide on how to repair a roof with solar panels.
Related: Do solar panels ruin your roof?
What You Need to Know Before You Start
Before you start repairing your roof with solar panels, there are a few things you need to know:
- Assess the damage: It is important to assess the damage to your roof before installing solar panels. You don’t want to install solar panels on a roof that is in poor condition as it could lead to further damage.
- Hire a professional: Installing solar panels on your roof is a complex process that requires expertise. It is recommended that you hire a professional to ensure that the panels are installed correctly and safely.
- Permits: Depending on where you live, you may need permits to install solar panels on your roof. Check with your local authorities to ensure that you have the necessary permits before you start.
Step-by-Step Guide to Repairing Your Roof with Solar Panels
Step 1: Assess the damage
The first step is to assess the damage to your roof. If you notice any leaks, missing shingles, or other damage, it is important to repair it before installing solar panels. This will help ensure that your roof is in good condition and can support the weight of the solar panels.
Step 2: Hire a professional
It is recommended that you hire a professional to install solar panels on your roof. A professional will ensure that the panels are installed correctly and safely. They will also help you determine the best location for the panels based on the orientation of your roof and the amount of sunlight it receives.
Step 3: Install the mounting system
The mounting system is what holds the solar panels in place on your roof. The system is typically made up of rails, brackets, and clamps. The mounting system needs to be installed securely to ensure that the panels do not come loose during high winds or storms.
Step 4: Install the solar panels
Once the mounting system is installed, it’s time to install the solar panels. The panels are attached to the mounting system using special clamps. The panels need to be installed in a way that maximizes their exposure to sunlight.
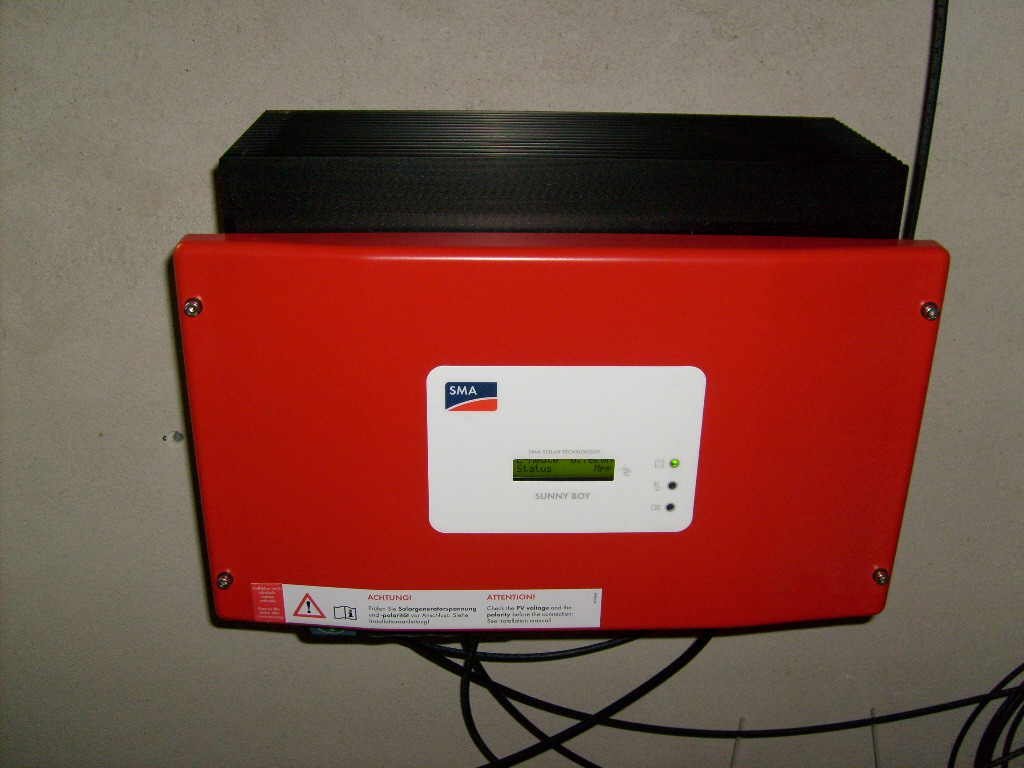
Step 5: Connect the wiring
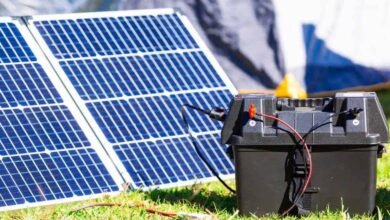
Once the panels are installed, it’s time to connect the wiring. The wiring connects the panels to the inverter, which converts the DC power produced by the panels into AC power that can be used in your home.
Step 6: Test the system
Once the wiring is connected, it’s time to test the system. This involves turning on the inverter and ensuring that the panels are producing power. A professional installer will ensure that the system is working correctly before leaving your home.
Conclusion:
Repairing a roof with solar panels can be a complex process, but with the right knowledge and expertise, it can be done safely and effectively. By following this step-by-step guide, you can ensure that your roof is in good condition and that your solar panels are installed correctly. Remember to hire a professional to ensure that the job is done right, and don’t forget to check with your local authorities to ensure that you have the necessary permits. With the right approach, you can enjoy the benefits of sustainable energy while also ensuring the longevity of your roof.