How to connect a solar panel to a battery and inverter
dedicate this article to explain the necessary steps that you must do so that you know how to connect the solar panel to the battery and to the inverter.
How to connect a solar panel to a battery and inverter
Thinking of installing solar panels and inverters on your home by yourself? Well you have come to the right place! There’s nothing frustrating like experiencing a power outage when you need it most. I know this because I have had several power outages just as I was watching my favorite TV show or turning on appliances.
How to connect solar panel to battery and inverter?
Fortunately, the advancement of technology has seen the development of solar panels that convert solar energy into electricity. An inverter is useful for converting battery power from solar panels, while a charge controller protects the batteries and panel from overheating. In this article, we will see how to connect a solar panel to the battery and inverter.
What you will need
Supplies:
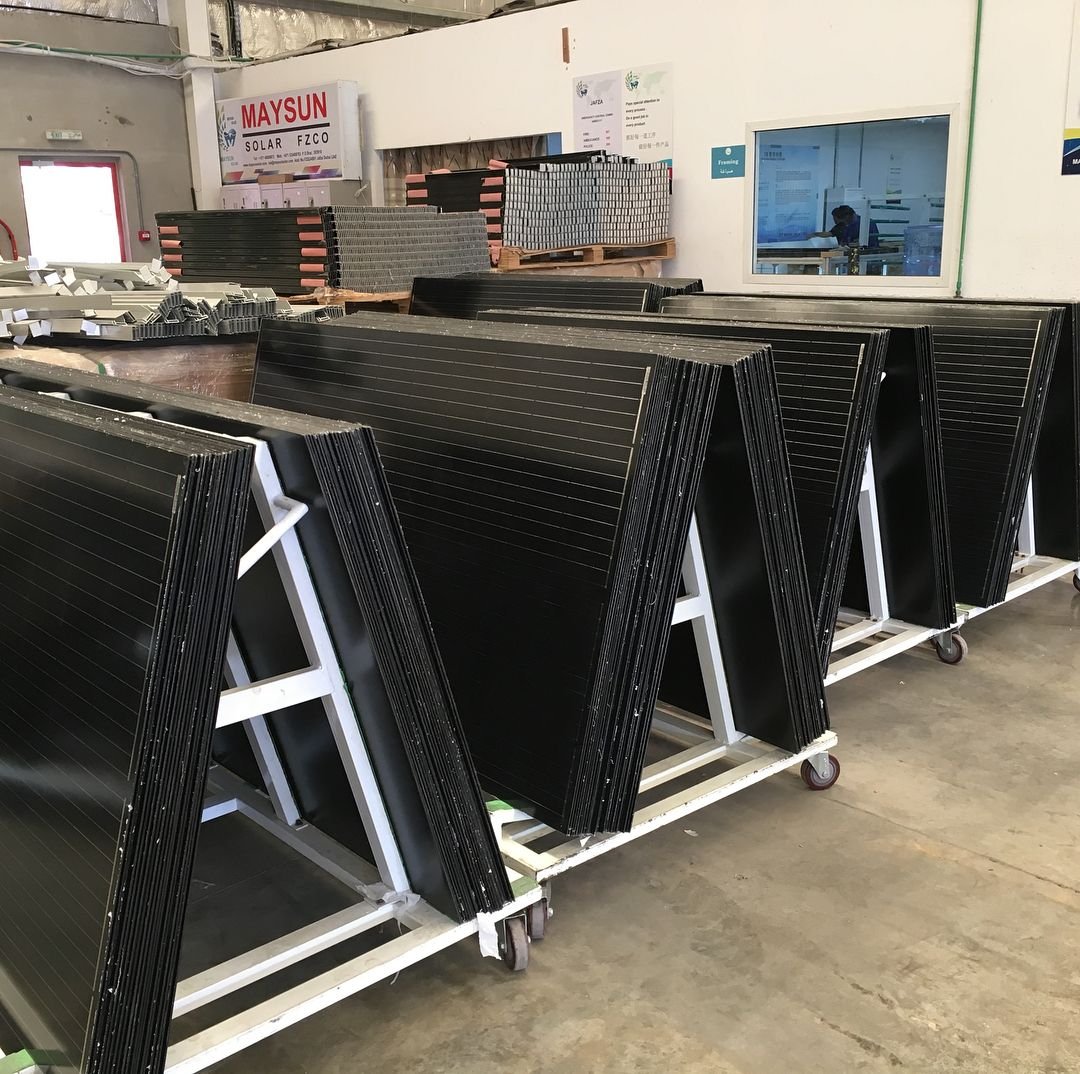
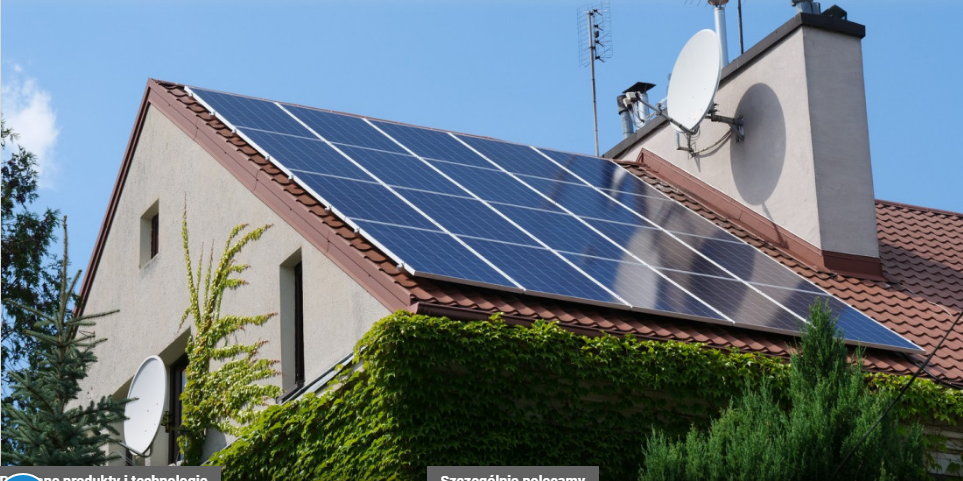
Solar panels
1 battery charger
1 power inverter
Mechanical lugs
2 AWG cable
Tools:
Screwdriver
Wire cutter
Drill
Red electrical tape
Wrench
Steps to connect solar panel to battery and inverter
Once you have all your supplies and tools ready, continue with the steps below:
Step 1 – Prepare the Batteries
The first step is to prepare the batteries by charging them with a charger. You must ensure that the batteries are charged to their maximum capacity before placing them in the container. The positive (+) terminals should be on one side while the negative (-) terminals on the other side.
Step 2 – Create the Bridges
Once the batteries are in place, the next step is to measure them from terminal to terminal to create jumpers. Batteries are usually connected in parallel to help preserve panel voltage. To do this, you need to measure between terminals and use 2 AWG wire to make the jumpers.
Alternatively, you can also connect the panels in a series. This increases the voltage to match that of the battery bank. Just make sure the panels output voltage is similar to that of the battery bank.
Step 3 – Prepare the Lid
Create holes in the cover to connect panel wires to a charge controller and inverter. You can choose to place your charge controller inside or outside, depending on your preference.
Step 4: Connect the charge controller and inverter to the battery cables
The next step is to connect the charge controller and inverter to the battery cables. Before doing this, make sure the charge controller is not connected to the solar panel and the inverter is not turned on.
When connecting your solar panel to your charge controller, it is recommended to first connect the panel adapter kit. Then connect the positive (+) or negative (-) cables from the panel and combine them with those from the charge controller. Make sure the panel is well inserted; Otherwise, you are likely to experience reverse polarity and a short circuit in the system, which may damage the controllers and panels.
It is also important to note that a reliable charge controller will help average out panel voltage fluctuations and give batteries a consistent charging voltage. It is also useful to prevent overcharging of batteries and protect panels from the risk of back current coming from batteries.
Step 5 – Connect the Battery Bank to the Inverter
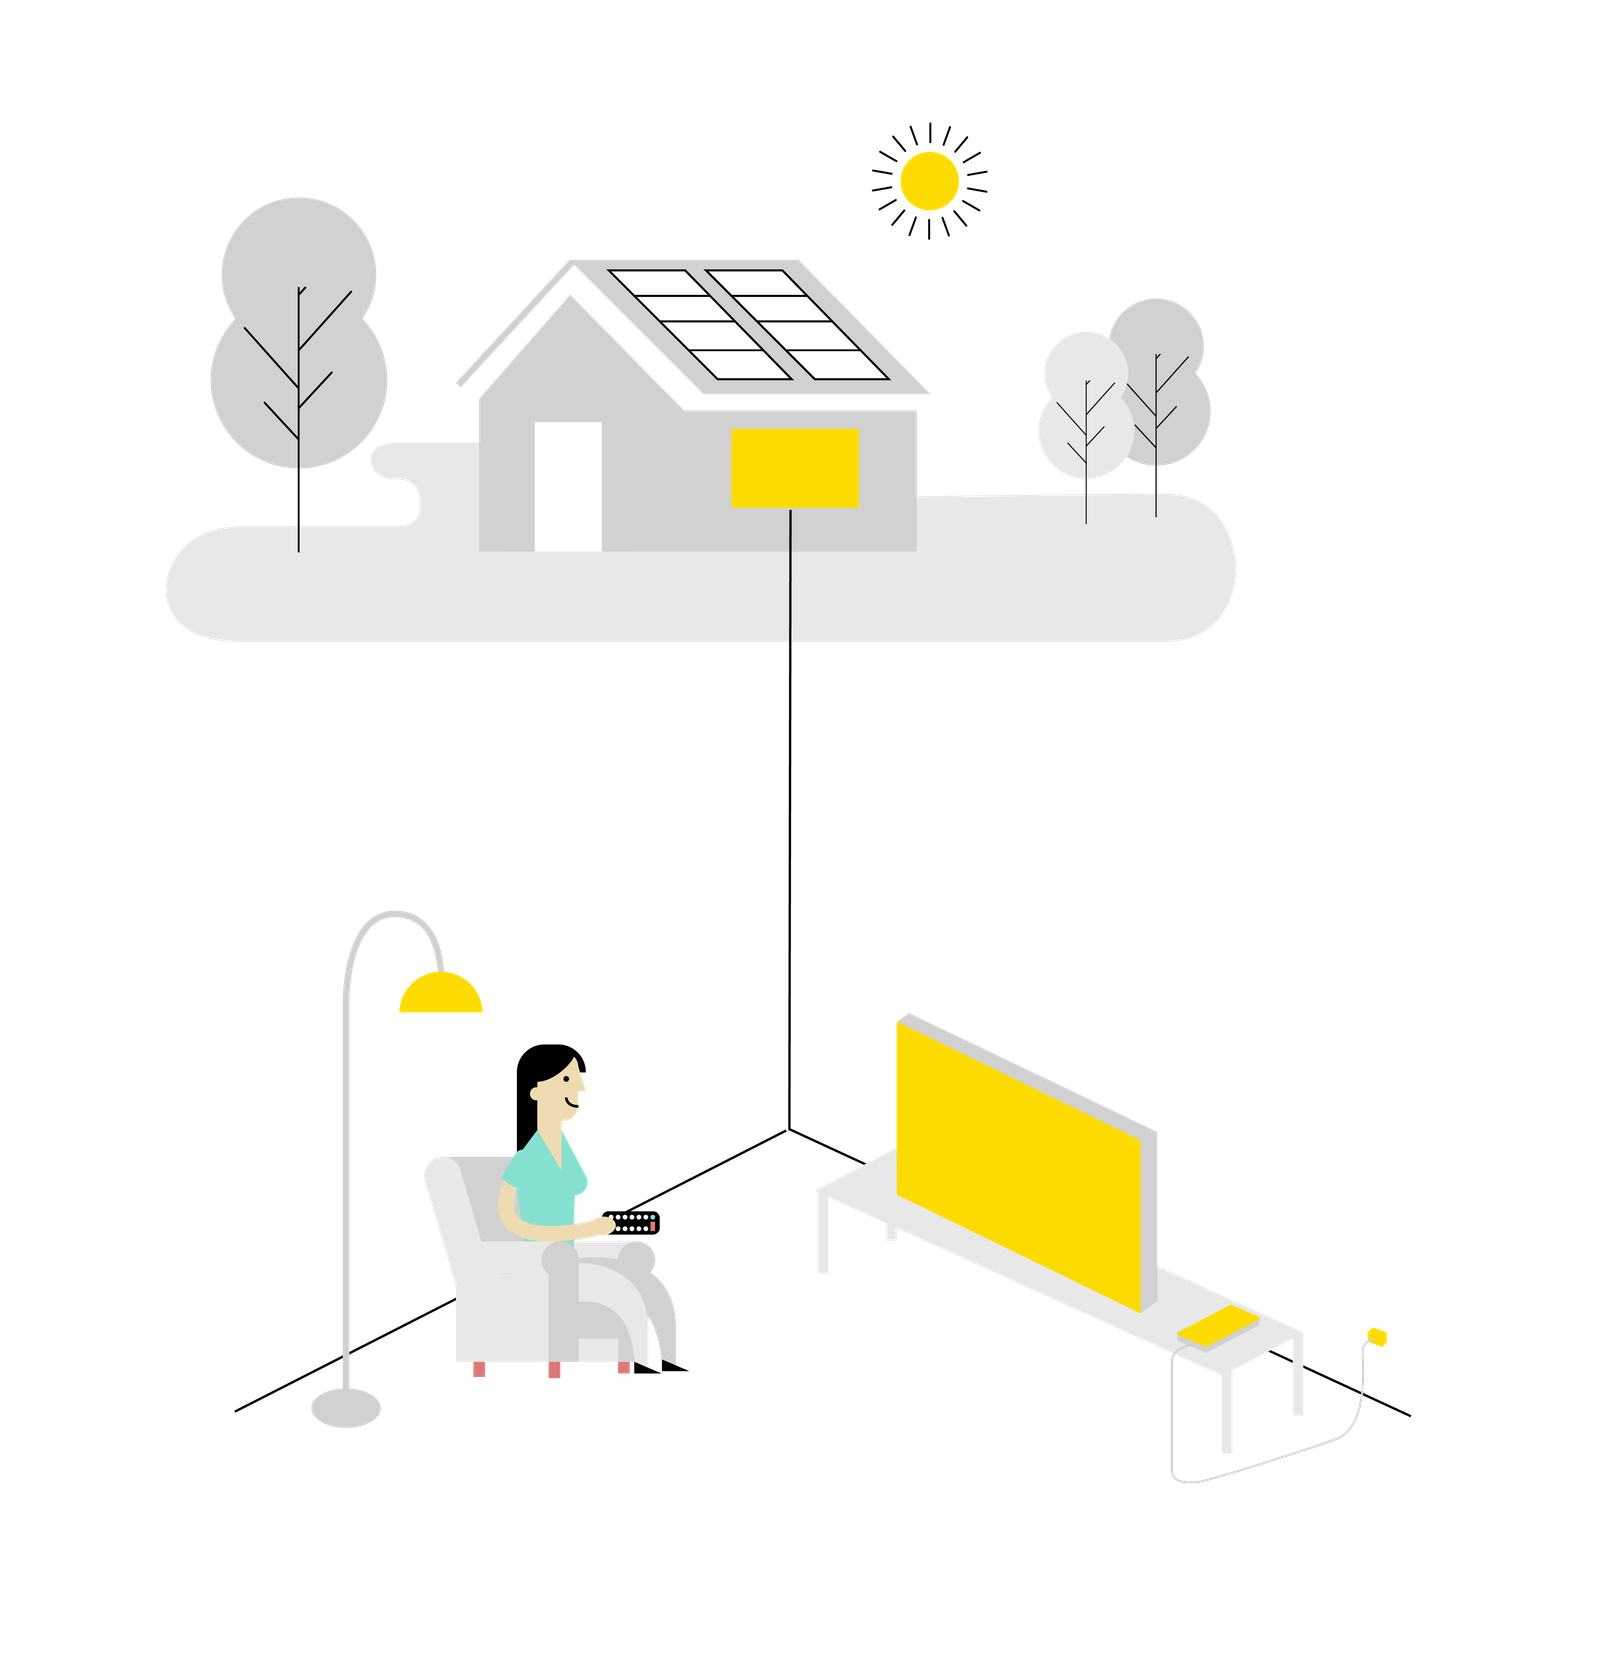
The last step is to connect the battery bank to the input tabs of your inverter. Then connect the inverter to the house panel and check if it works properly. In this step, the inverter will change the DC power from the batteries and convert it to 110 volt AC power to be used in the house panel.
In addition, the inverter can be programmed to produce excess power to the power company in the event that the house panel is connected to the power grid.
Steps to connect batteries in parallel position

When it comes to battery wiring, there are two ways to go about it; parallel wiring and series wiring. Connecting the battery in parallel position helps to increase power or current while wiring in series helps to increase voltage wiring. Here are some simple steps to use parallel wiring:
Step 1:
Place the batteries step by step so that you have battery 1 and battery 2. Make sure the positive (+) side of battery one and battery two match while the negative (-) side of the two batteries is on the other side.
Step 2 – Connect the Red Wires
Use a red battery cable to connect the red positive terminal of both batteries.
Don’t make the mistake of connecting a positive terminal of one battery to the negative terminal of another.
Step 3 – Connect the Black Wires
Then use a black battery cable to connect the black negative terminal of both batteries. It is also recommended to use cables of the same polarity, for example, black to black and red to red.
Step 4 – Connect the Battery Bank to the Solar Panel
Once you have done that now connect the battery bank to what you want to power and then to the solar panel.
Installation is also quite simple if you follow the steps above. In addition, you can choose from the best types of panels that we recommend such as 100 watt solar panels , flexible solar panels .
Conclution
I hope the above steps will help you connect your solar panel to a battery and inverter with ease. In this way, you can say goodbye to power interruption, so you can enjoy an adequate power supply for the operation of your home or business. Did you find these steps helpful? Well, I’d love to hear how you incorporated them into your DIY solar installation project. Also, don’t forget to share with friends and family!